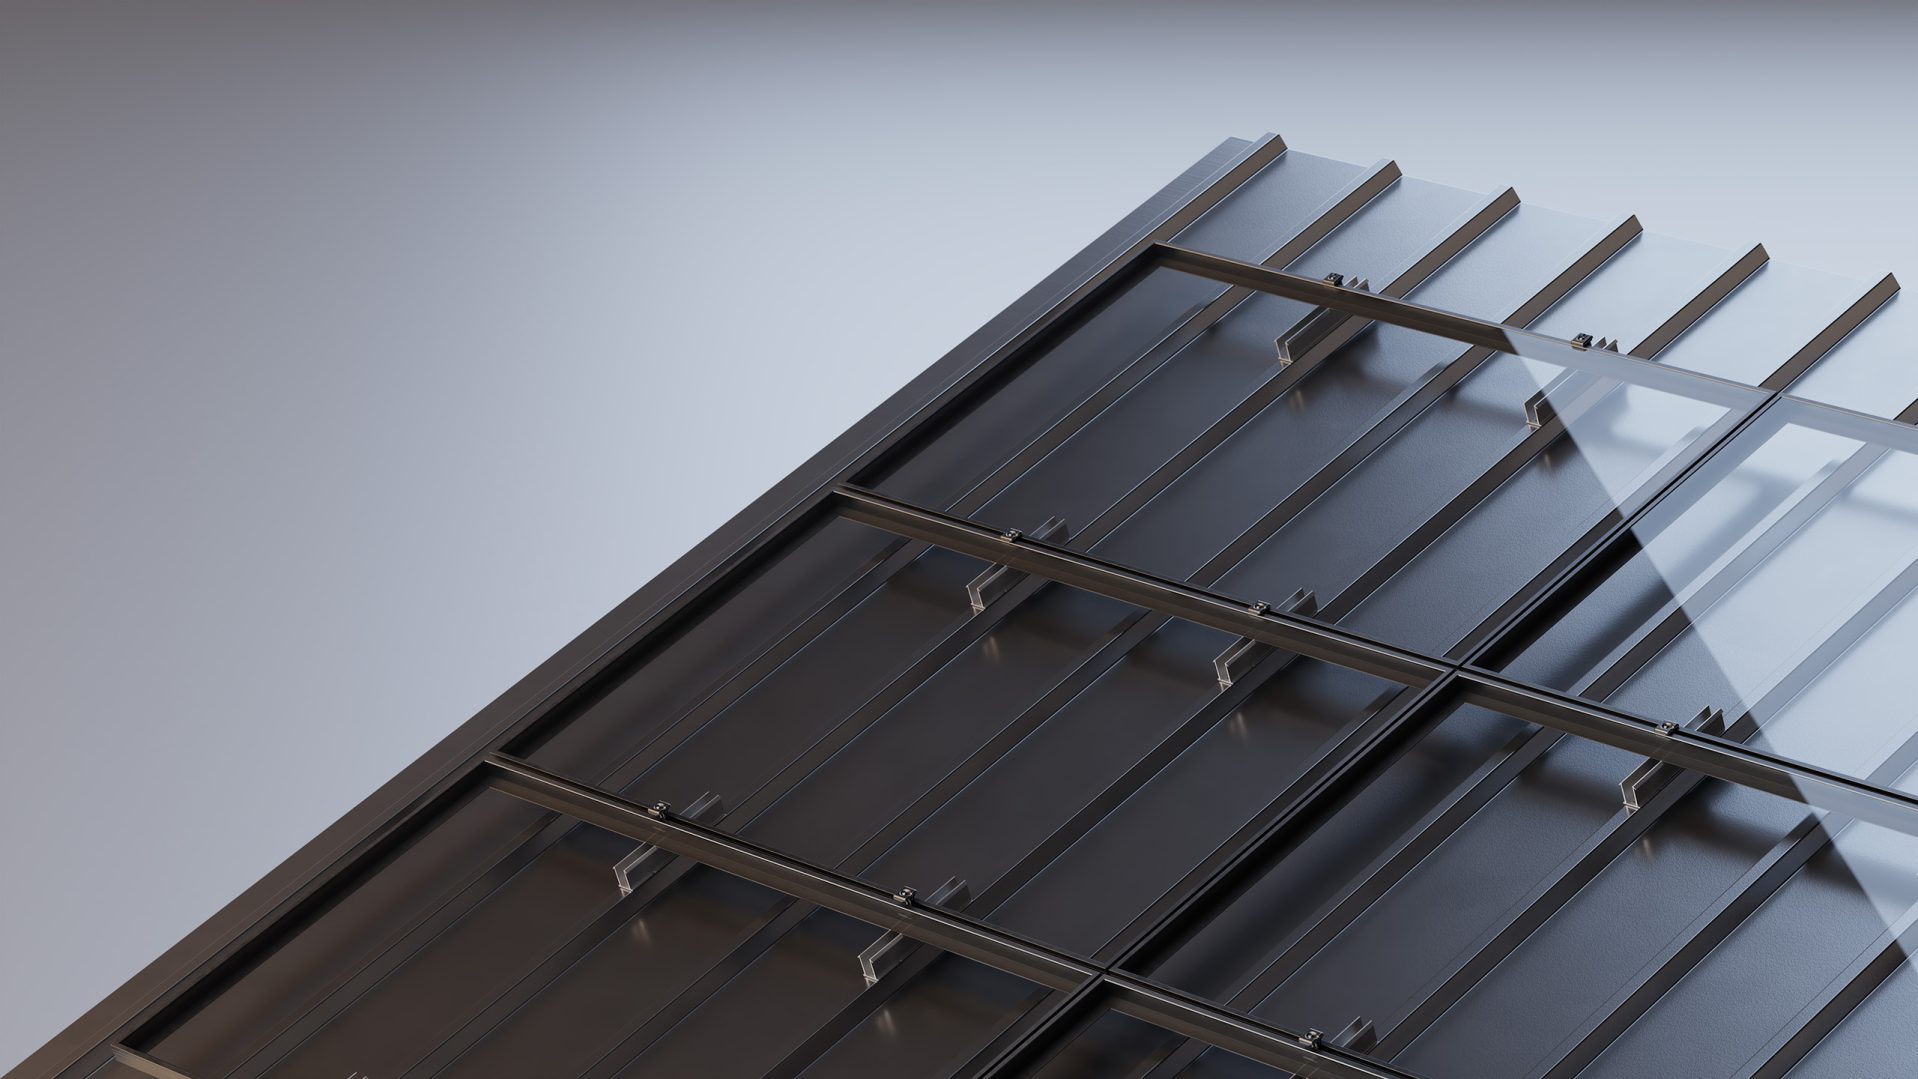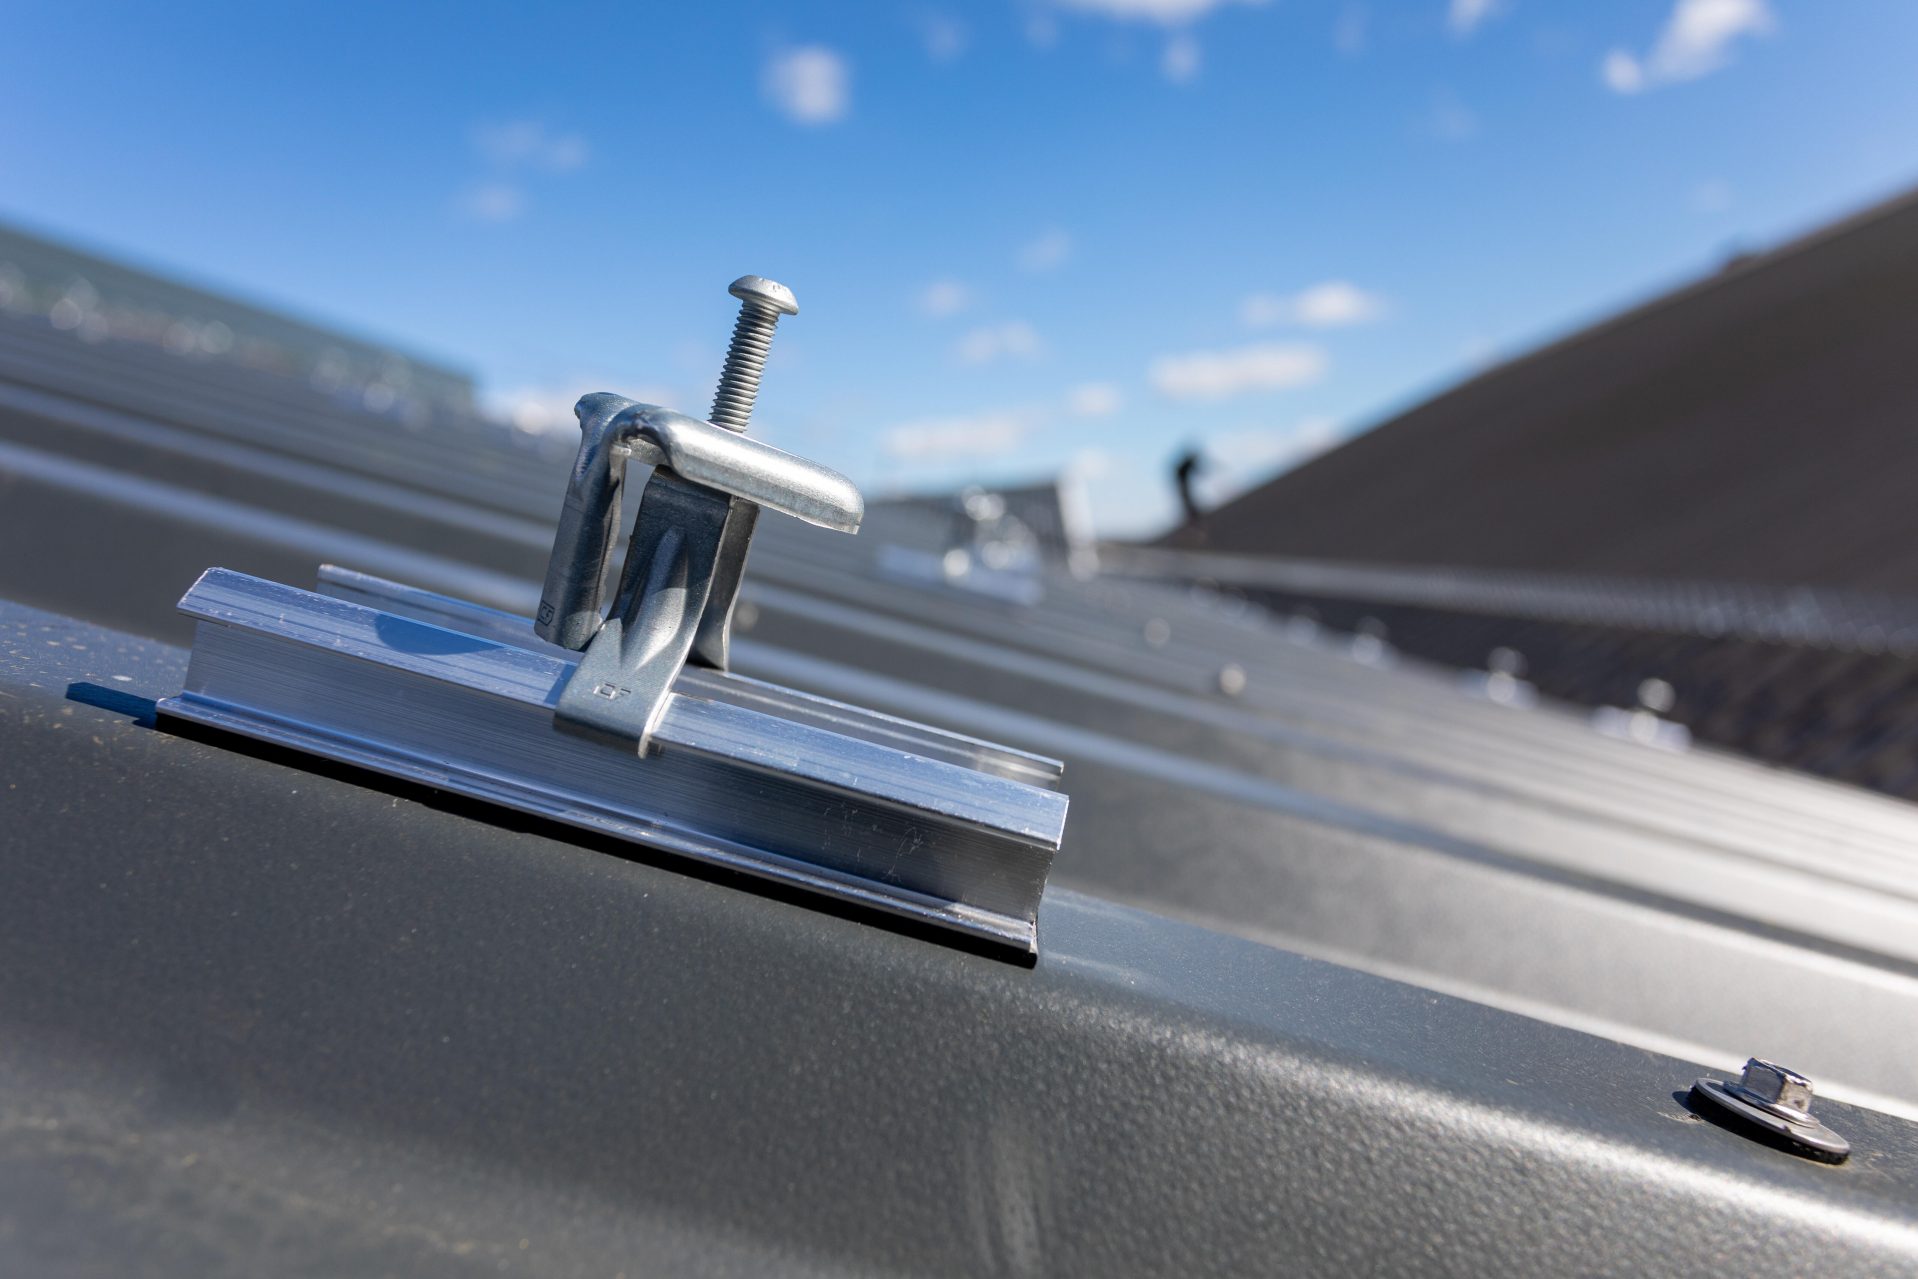
Mounting profiles are the fastest way to install on trapezoidal and sandwich steel sheets. For other steel sheet roofs, the hanger bolt solution is advised. For both ways, the mounting features are mentioned in the overview below.
The smart mounting system comprises just four lightweight and strong components for simple solar panel installation. For every type of steel roof. You save time and space during installation.


With ClickFit EVO Steel Roof, the roof is protected from leaks. All installation profiles used in the system have pre-punched holes and a pre-glued EPDM rubber seal. The profiles are easily installed using self-tapping screws. If using the hanger bolts, the EPDM rubber seal also ensures the installation is waterproof, meaning less risk for you.
Choosing Esdec means receiving support throughout your entire solar project. We support our solar professionals and remove as much of the hassle as possible. For example, you can quickly make a calculation using our calculator and we also offer free training courses and webinars.


The ClickFit EVO steel roof mounting profiles can be used on most sheet steel roofs, such as trapezoidal and corrugated steel roofs. The thickness of the steel sheets must be at least 0.5 mm. You can attach the system to all other types of steel roofs, for example the steel roof tile sheet, with the ClickFit EVO Hanger Bolt.
With ClickFit EVO Steel Roof you can choose from two types of mounting profiles: basic mounting profiles and the high optimizer ready mounting profiles. Both types are available in a variant for landscape and portrait mounting:
Mounting profile ‘Basic’ landscape (1008048): 120mm x 40mm x 23mm
Mounting profile ‘Basic’ portrait (1008049): 388mm x 56.5mm x 23mm
Mounting profile ‘Optimizer ready’ landscape (1008050): 260mm x 40mm x 50mm
Mounting profile ‘Optimizer ready’ portrait (1008051): 388mm x 57.5mm x 50mm
With ClickFit EVO Steel Roof you can choose between mounting in either landscape and portrait orientation. Choose the right variant of the mounting profile. More information can be found in our brochure.
To attach an optimiser or microinverter (collective name: MLPE = Module Levelling Power Electronics), you can use our ClickFit EVO MLPE Clip Lightweight or Heavyweight (art. no. 1008067 or 1008068). Note! If you mount the panels with the mounting profiles for steel roof, we recommend choosing the high (optimiser ready) mounting profile. This provides sufficient space between the roof and the solar panels. The MLPE Clip Lightweight is simply clicked onto the mounting profile, providing integrated cable management! Then click the MLPE onto the clip. First you mount the MLPE Clip Heavyweight on the MLPE, after which you mount the clip, with MLPE, on the mounting rail. Make sure the MLPE clip is placed at least 15 cm from the end of the mounting profile. Want to see how it works? Watch our installation demo.
All solar panels in the same row are automatically interconnected thanks to the ClickFit EVO Module Clamp. To bond the entire PV system, you do need to connect each row to grounding separately, because the individual rows are not connected to each other by the mounting system. The earthing conductor (≥Ø 4mm2) runs parallel to the positive and negative conductors and is connected to a separate grounding point of the inverter. If you have any questions about grounding and bonding, please contact our technical experts.
Can’t find your question here? Feel free to contact us by phone at +31 (0)85 162 22 22