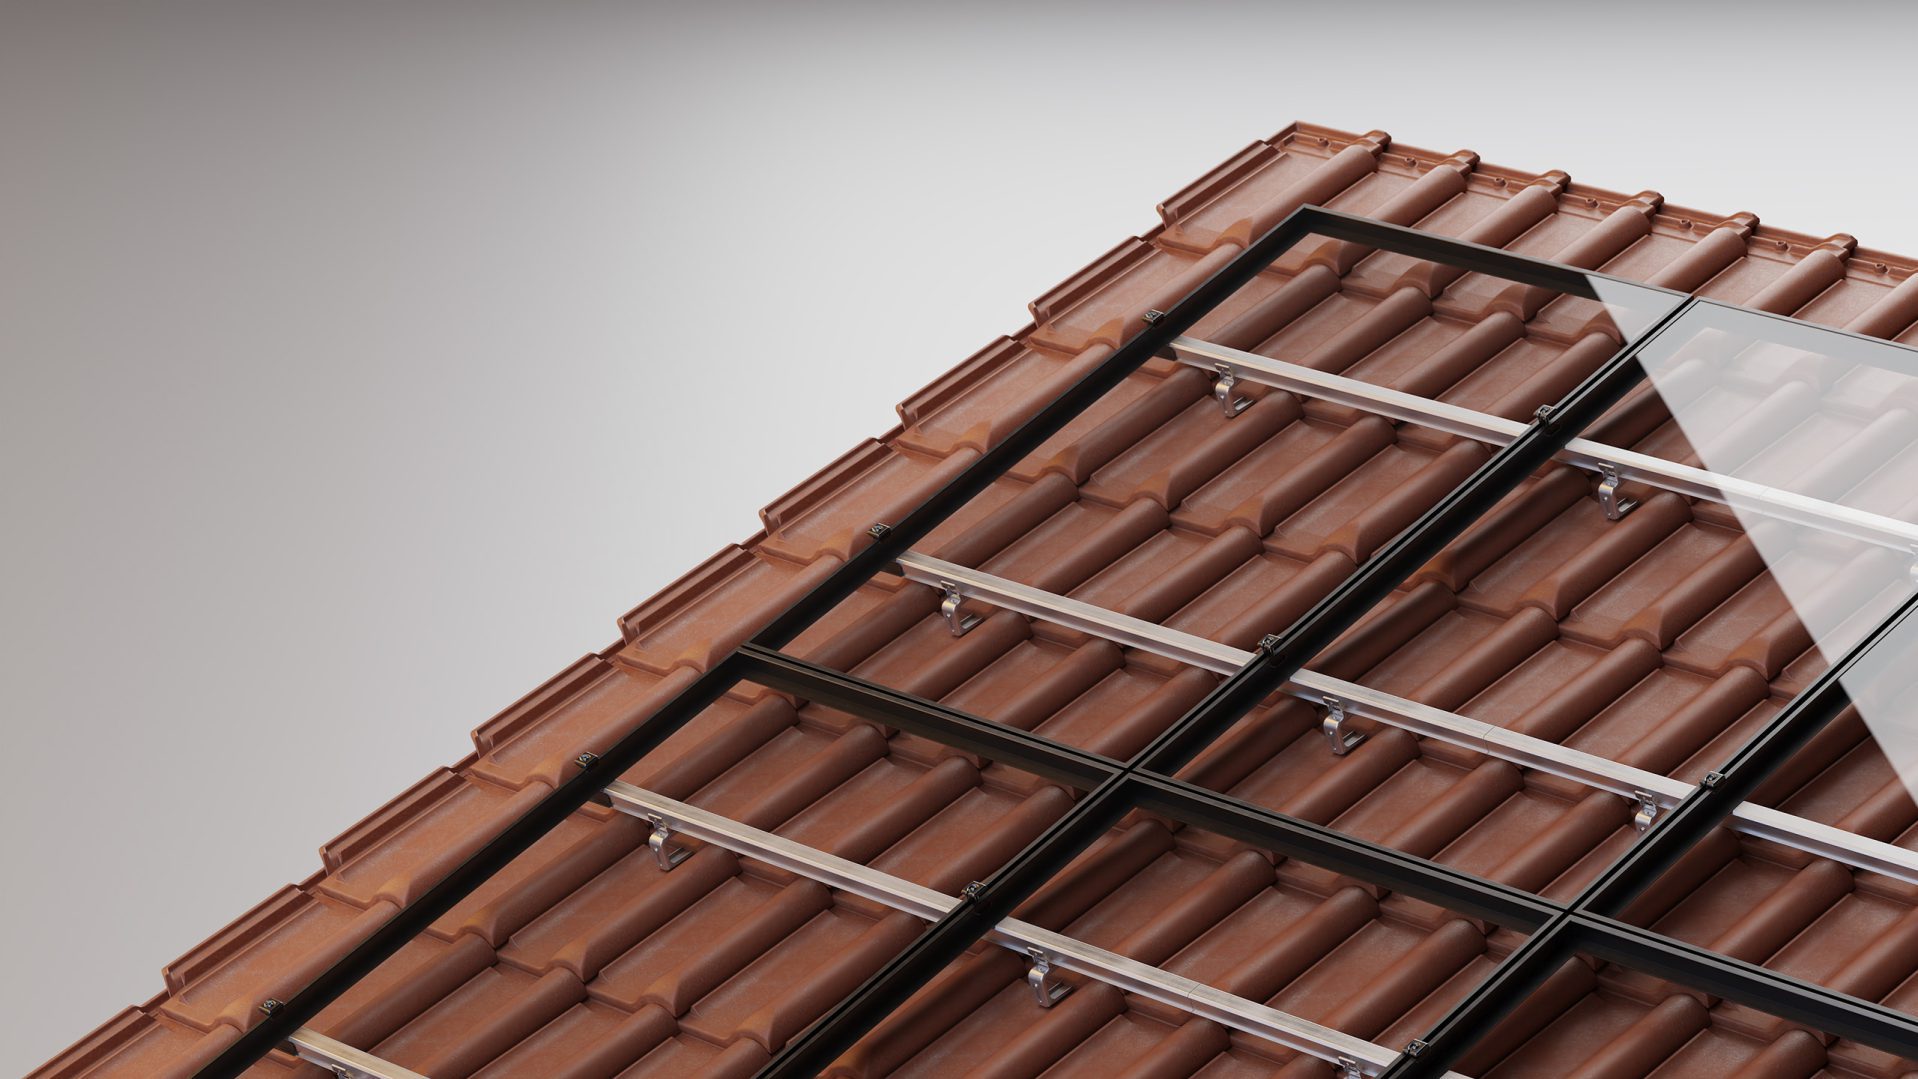
You can choose with or without screwing, both are possible on tiled roofs. The choice is purely based on preference.
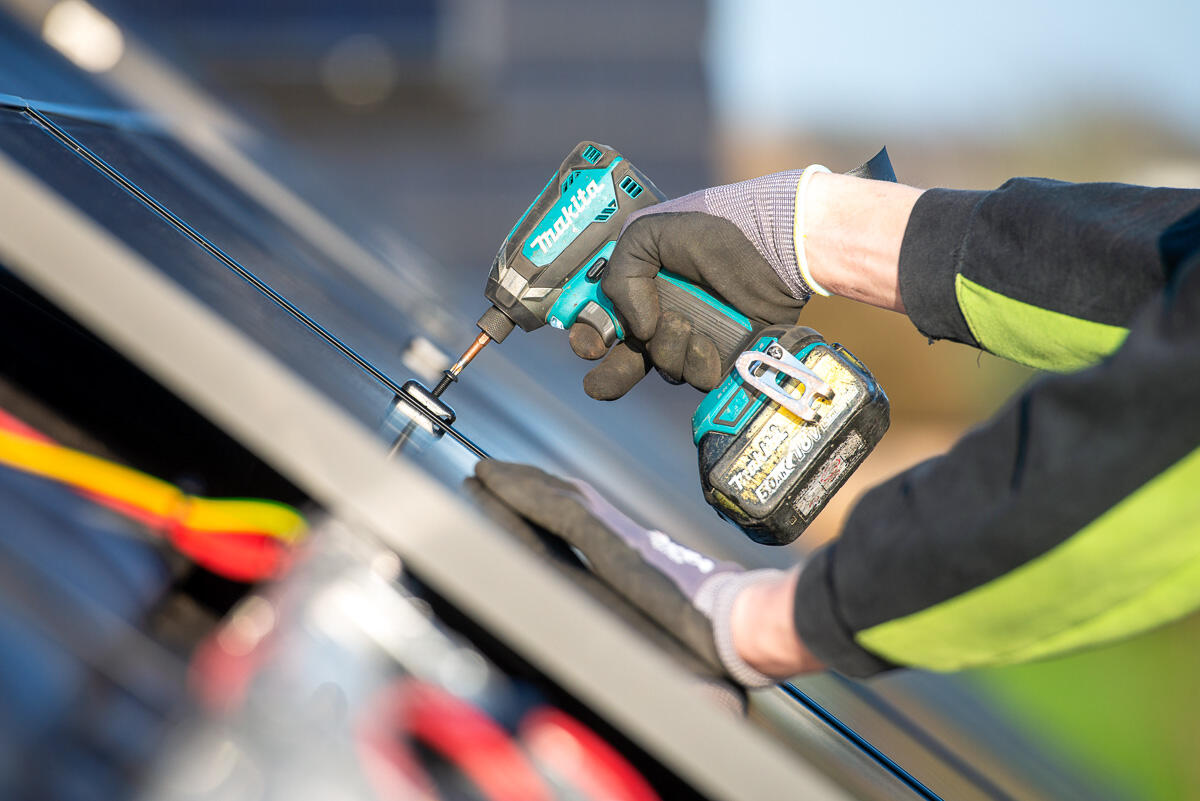
This smart solar panel mounting system consists of a handy hook-and-click system, meaning you no longer need to drill into the roof structure. You just click the rails onto the roof hooks, so all you have to do is screw the solar panels into place.
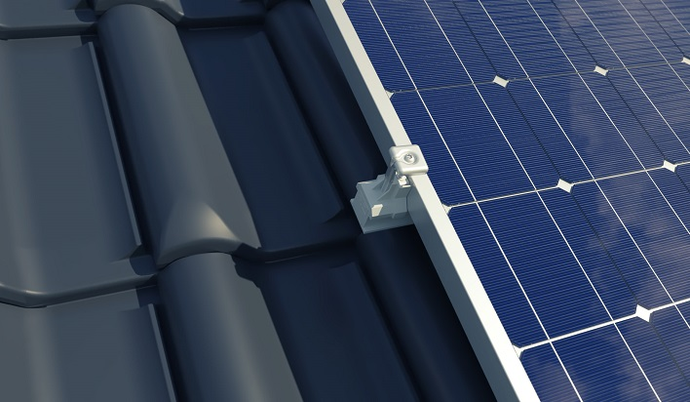
The ClickFit EVO Roof hook Pro is specially designed for extra strength. By securely screwing it onto the rafter and maintaining a gap between the tile and hook, it can withstand higher snow and wind loads.
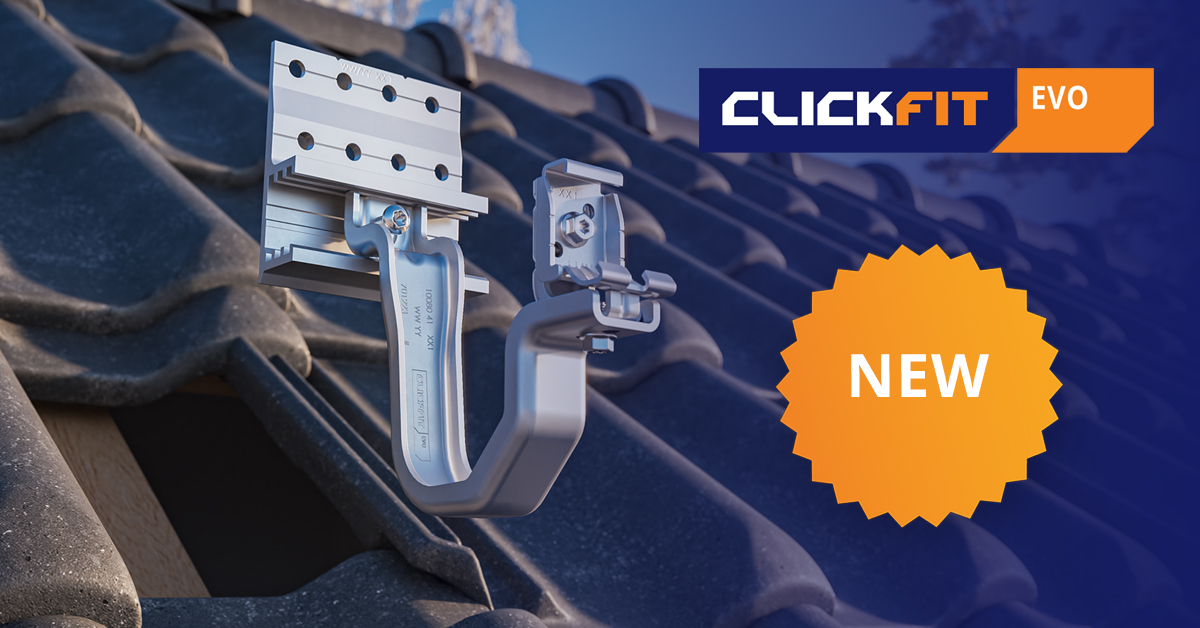
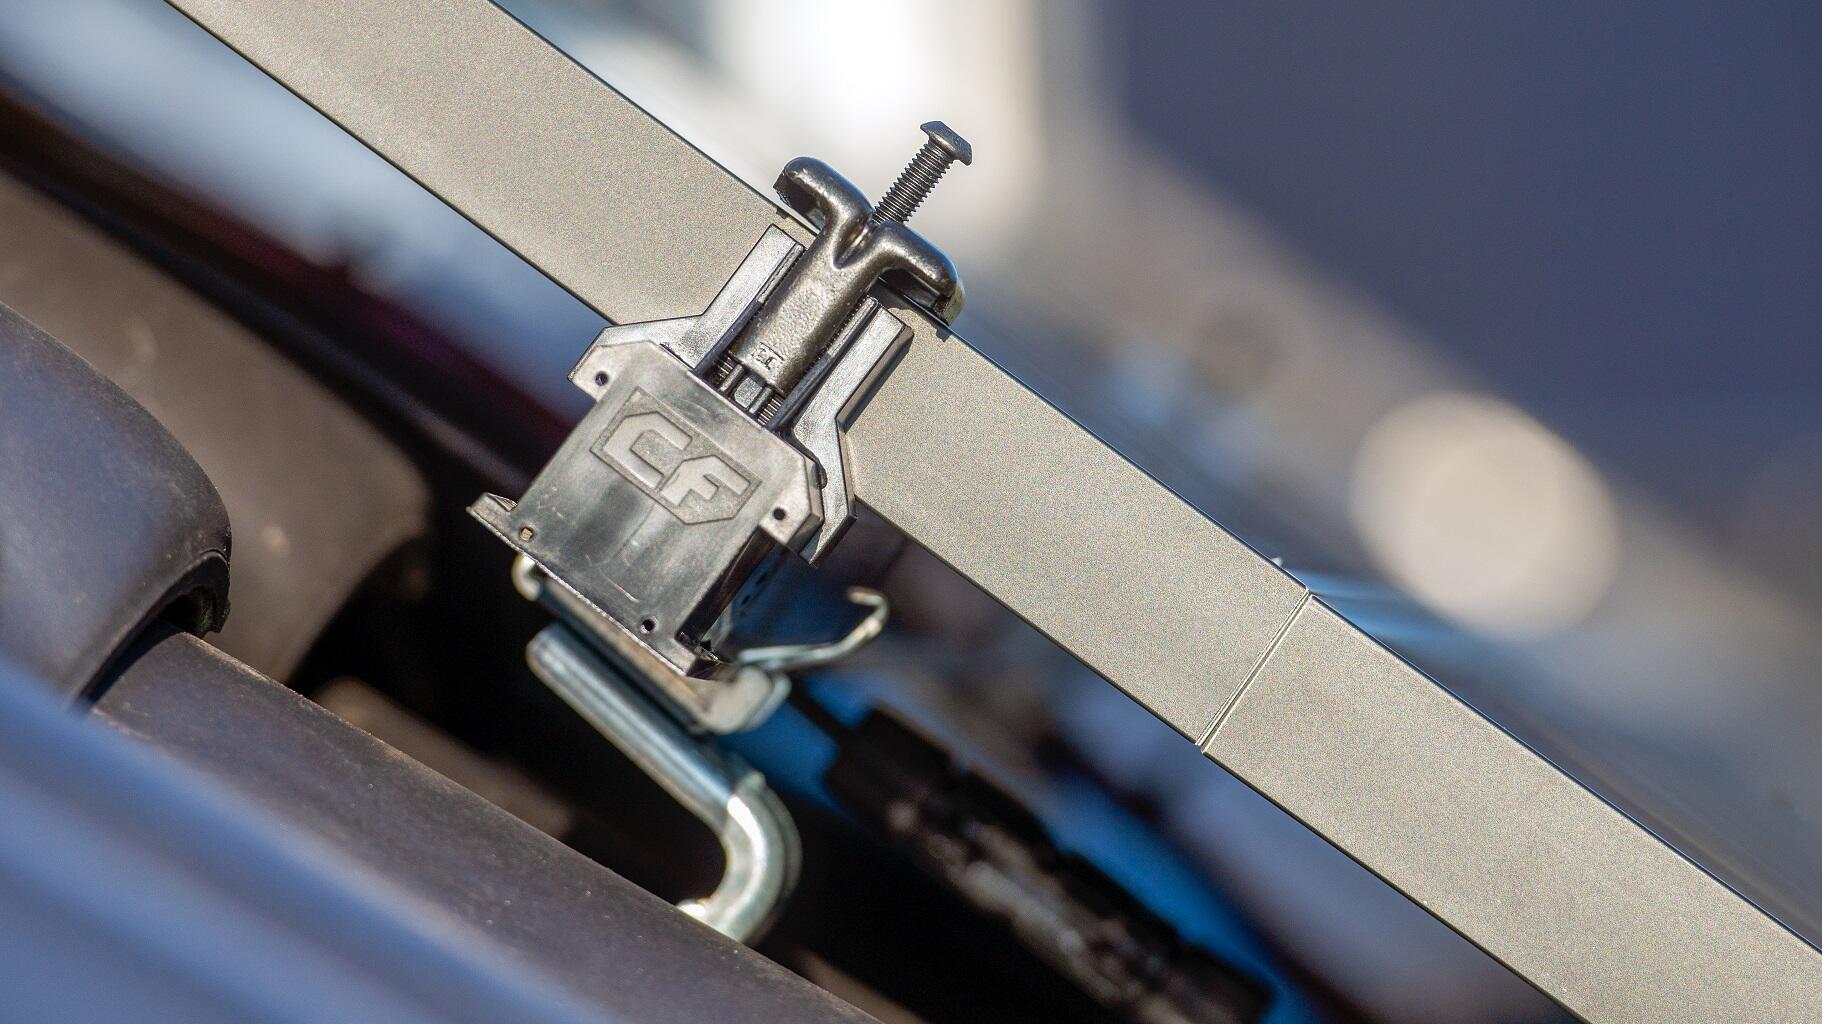
The ClickFit EVO Tiled Roof system is made from high-quality aluminium and Magnelis steel. This type of steel has a longer lifetime, is resistant to corrosion and has a self-repairing coating. So you can be sure you are working with high-quality products.
Choosing Esdec means receiving support throughout your entire solar project. We support our solar professionals and remove as much of the hassle as possible. For example, you can quickly make a calculation using our calculator and we also offer free training courses and webinars.

ClickFit EVO can be used on all standard types of roof tiles with tile lath thickness and tile thickness between 32 and 63 mm. This applies to the standard mounting option with the ClickFit EVO Universal Roof Hook. A roof tile and tile lath thickness of between 37 and 62 mm is needed if you choose to fix the panels using the ClickFit EVO Truss Hook.
ClickFit EVO can be used on tiled roofs with a slope between 10 and 60 degrees.
The ClickFit EVO Universal Roof Hook is 181,8 mm long and 36 mm wide. The click-connector on the Universal Roof Hook is height-adjustable between 68 and 98 mm.
To attach an optimiser or microinverter (collective name: MLPE = Module Levelling Power Electronics), you can use our ClickFit EVO MLPE Clip Lightweight or Heavyweight (art. no. 1008067 or 1008068). Note! If you mount the panels with the mounting profiles for steel roof, we recommend choosing the high (optimiser ready) mounting profile. This provides sufficient space between the roof and the solar panels. The MLPE Clip Lightweight is simply clicked onto the mounting profile, providing integrated cable management! Then click the MLPE onto the clip. First you mount the MLPE Clip Heavyweight on the MLPE, after which you mount the clip, with MLPE, on the mounting rail. Make sure the MLPE clip is placed at least 15 cm from the end of the mounting profile. Want to see how it works? Watch our installation demo.
All solar panels in the same row are automatically interconnected thanks to the ClickFit EVO Module Clamp. To bond the entire PV system, you do need to connect each row to grounding separately, because the individual rows are not connected to each other by the mounting system. The earthing conductor (≥Ø 4mm2) runs parallel to the positive and negative conductors and is connected to a separate grounding point of the inverter. If you have any questions about grounding and bonding, please contact our technical experts.
Can’t find your question here? Feel free to contact us by phone at +31 (0)85 162 22 22